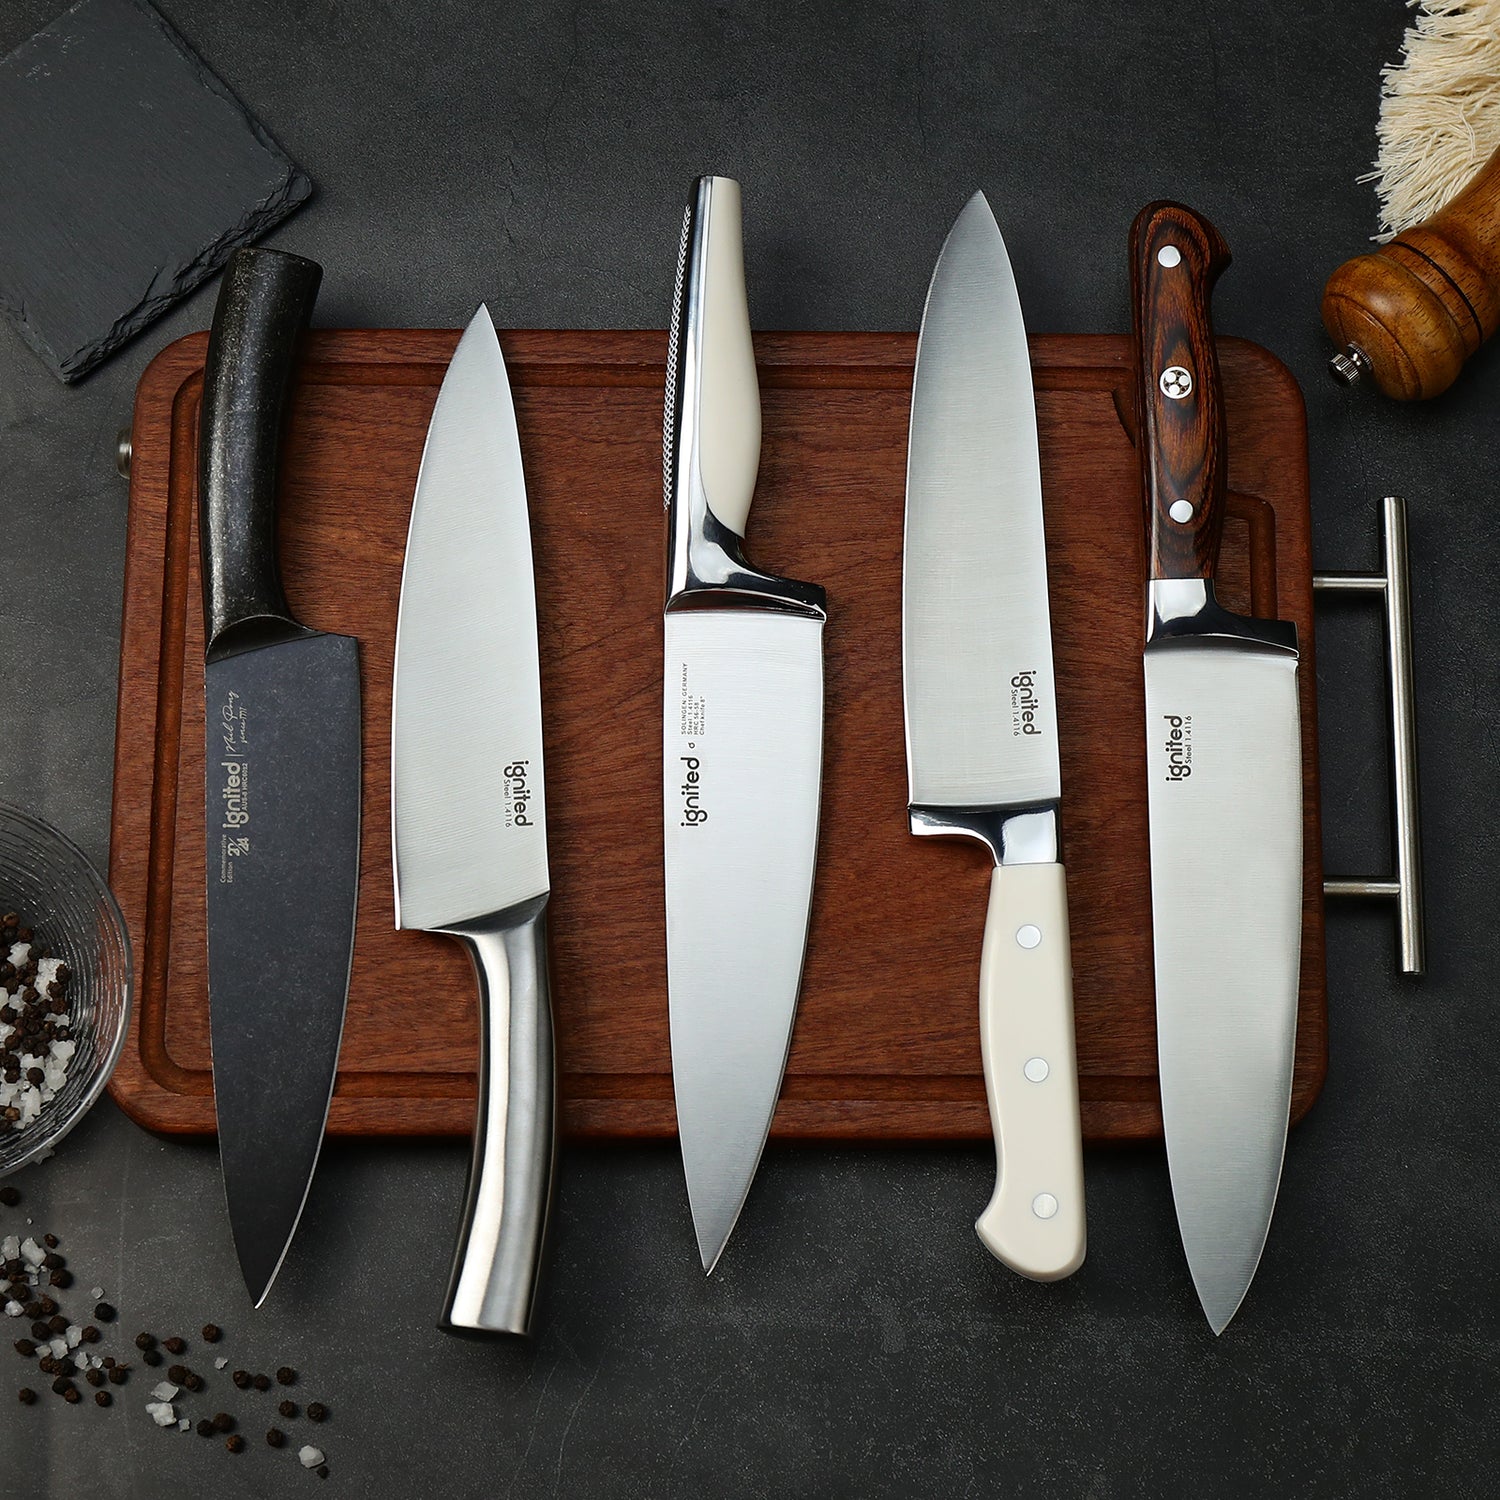
When To Use Different Kitchen Knives
In any kitchen, knives are indispensable tools that shape both speed and quality of prep. Knowing when to use each knife improves efficiency, consistency, and safety. Below, we cover the core knife types, what they do best, and how to keep them in peak condition.
The Essential Knives in Your Kitchen
| Knife | Primary Strength | Typical Length | Quick Tip |
|---|---|---|---|
| Chef’s Knife | All-purpose chopping, slicing, dicing | 6–12 in | Use a gentle rocking motion |
| Paring Knife | Precision and peeling | 3–4 in | Great for handheld work |
| Bread Knife | Serrated slicing through crusts | 8–10 in | Use a light sawing motion |
| Utility Knife | Mid-size versatility | 4–7 in | Bridges chef’s and paring |
| Santoku Knife | Clean push-cuts on veg/protein | 5–7 in | Flat profile favors up–down cuts |
| Boning Knife | Working around bones | 5–7 in | Let the flex do the work |
| Cleaver | Power cuts; tough produce | Varies | Use firm, controlled chops |
| Carving Knife | Thin slices of cooked meats | 8–14 in | Slice with long, smooth strokes |
| Nakiri Knife | Vegetable precision | 6–7 in | Perfect for straight push-cuts |
1. Chef’s Knife Workhorse
The chef’s knife features a broad blade that tapers to a point, enabling efficient rocking and guiding knuckle clearance.
When to Use
- Chopping vegetables and herbs
- Slicing boneless meat and fish
- Dicing onions, garlic, and mirepoix
- Mincing herbs or aromatics
Not Ideal For
- Cutting through bones or frozen foods
- Slicing crusty bread or delicate cakes
Pro tip: Keep the tip on the board for rapid mincing; lift the heel slightly to rock.
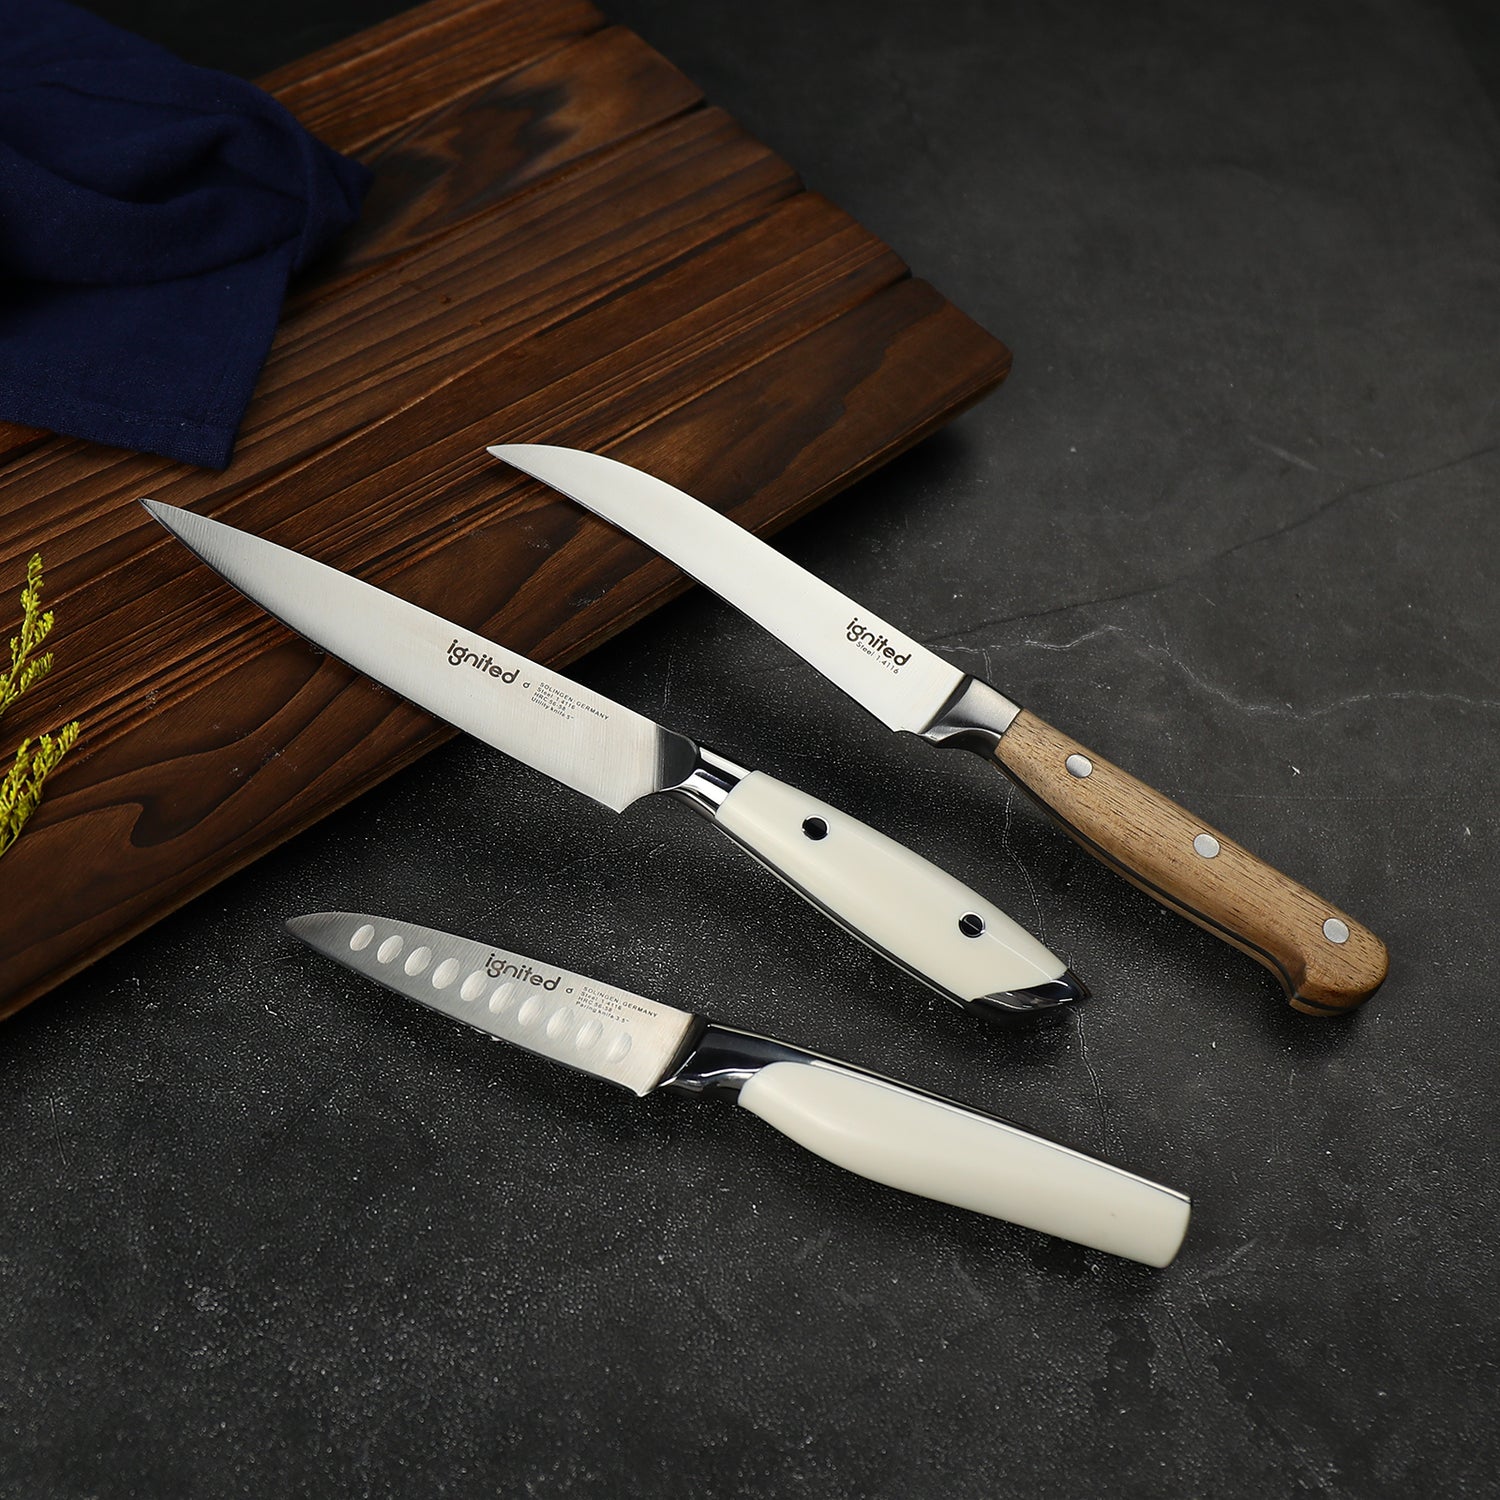
2. Paring Knife Precision
When to Use
- Peeling and trimming produce
- Hulling strawberries and seeding peppers
- Deveining shrimp and small garnishes
Not Ideal For
- Large chopping tasks
- Tough rinds or hard root veg
3. Bread Knife Serrated
When to Use
- Slicing loaves, baguettes, and brioche
- Cutting cakes and pastries
- Tomatoes and other soft-skinned items
Not Ideal For
- Precision brunoise or chiffonade
- Hard, small items needing control
4. Utility Knife All-Rounder
When to Use
- Slicing sandwiches and proteins
- Chopping medium-sized vegetables
- Cutting cheese and fruit
Not Ideal For
- Heavy-duty chopping
- Ultra-precise trimming
5. Santoku Knife Push-Cuts
Japanese-style santoku favors straight, up–down push-cuts. Many feature granton (hollow) dimples to reduce sticking.
When to Use
- Chopping vegetables and herbs
- Slicing fish and boneless meat
- Dicing juicy produce like zucchini or cucumber
Not Ideal For
- Rocking-chop techniques
- Bone-in or heavy-duty tasks
6. Boning Knife Around Bones
When to Use
- Deboning poultry and fish
- Trimming silver skin and fat
- Portioning delicate cuts
Not Ideal For
- Vegetable chopping
- General-purpose slicing
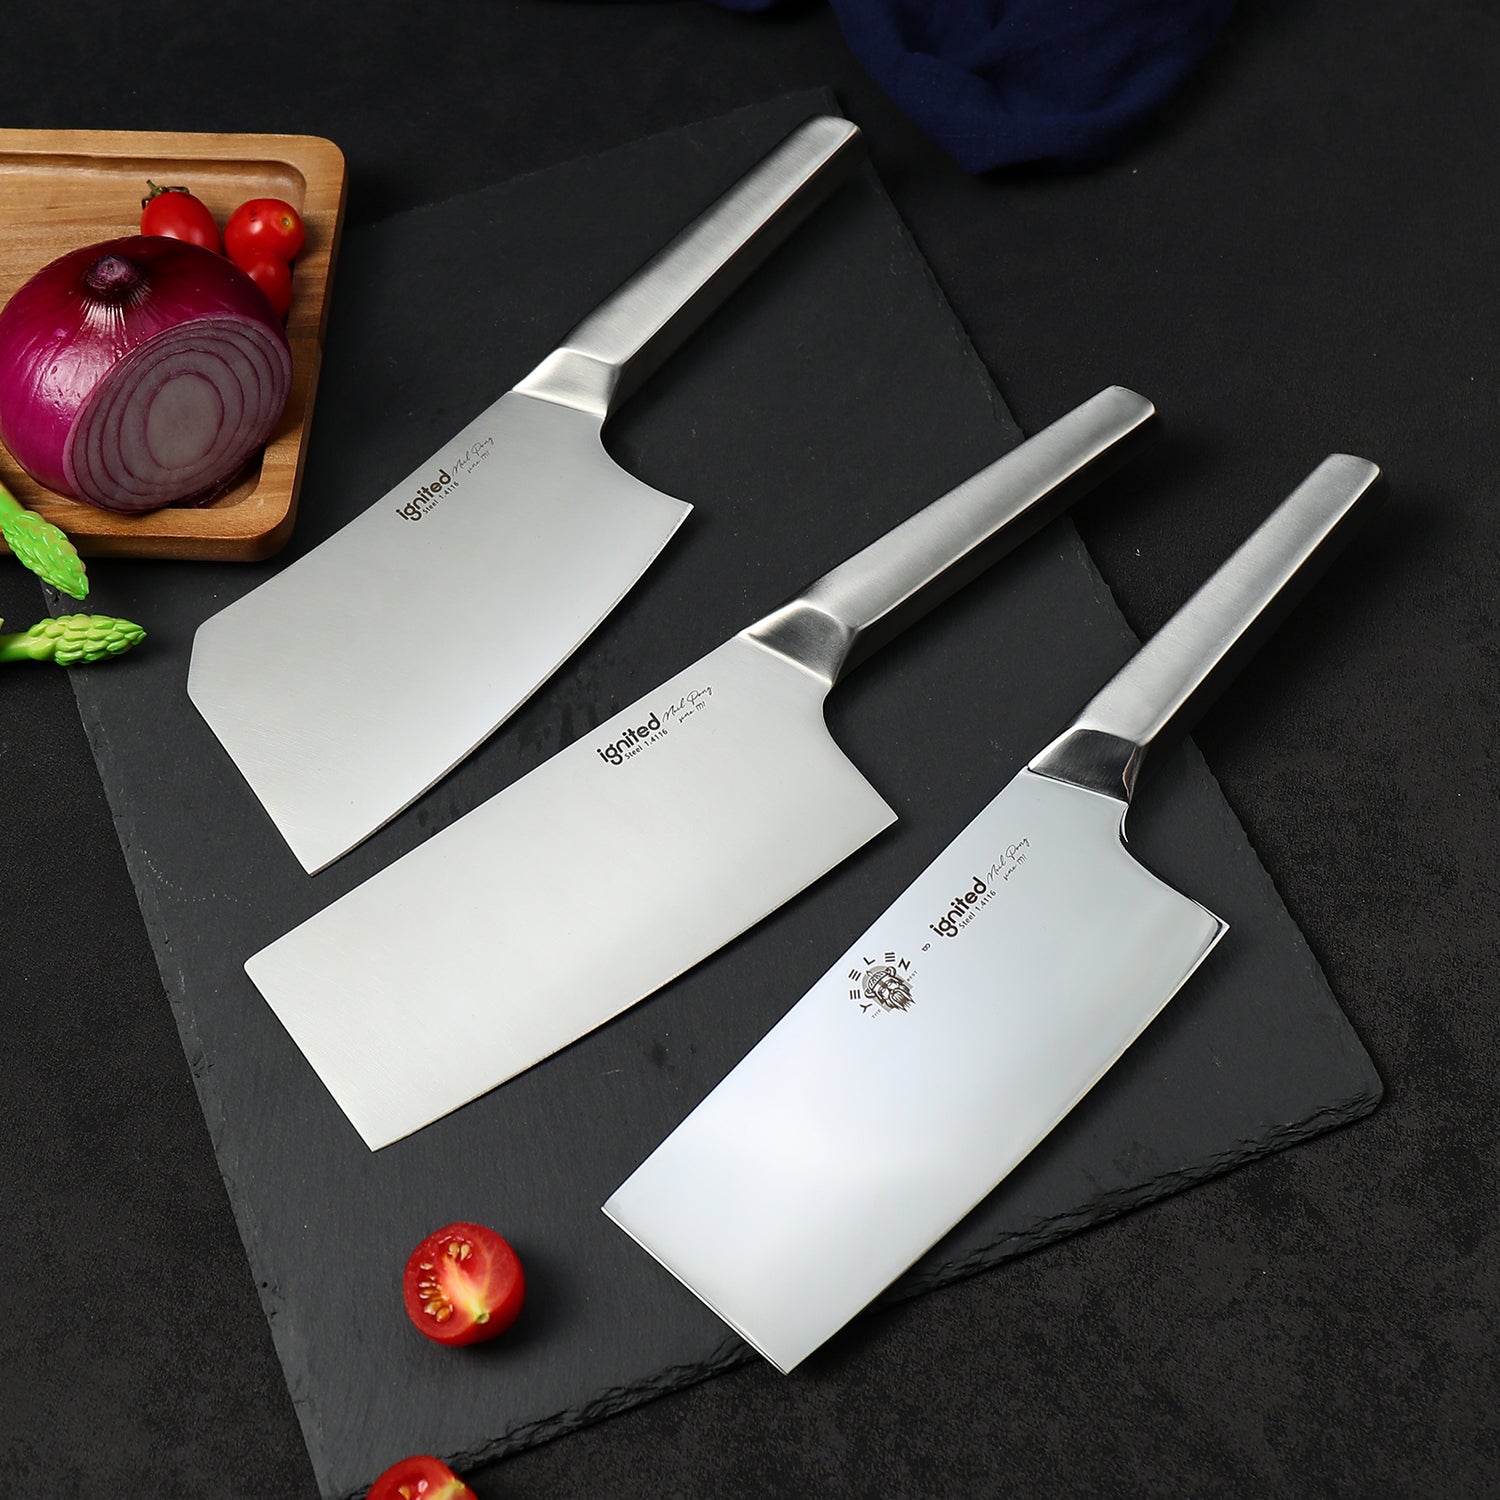
7. Cleaver Power
When to Use
- Splitting small bones and joints (butcher’s cleaver)
- Breaking down squash, pumpkin, or melons
- Crushing garlic or ginger
Not Ideal For
- Fine, delicate slicing
- Precision garnishes
8. Carving Knife Serving
When to Use
- Carving roasts, turkey, and prime rib
- Slicing ham and brisket into thin, even cuts
Not Ideal For
- General chopping
- Heavy-duty tasks
9. Nakiri Knife Vegetables
Nakiri’s straight-edged, tall profile excels at flat, clean cuts—ideal for precise vegetable work and fine, even slices.
When to Use
- Thinly slicing and shredding vegetables
- Mincing herbs with straight push-cuts
Not Ideal For
- Bones or hard frozen items
- Rocking motions
Knife Skills and Techniques
Core Cuts
- Chop: Quick, controlled downstrokes for uniform pieces.
- Slice: Long, smooth strokes for clean faces on meat and veg.
- Mince: Rapid fine cuts; keep the tip anchored for control.
- Julienne & Batonnet: Matchsticks and thicker batons for even cooking.
- Dicing: Planks → sticks → cubes for consistency.
- Chiffonade: Rolled leafy herbs cut into fine ribbons.
Safety & Control
- Use the claw grip: tuck fingertips; guide with knuckles.
- Stabilize boards with a damp towel underneath.
- Keep edges sharp—dull knives slip more easily.
- Dry handles and hands to prevent slipping.
Knife Maintenance Tips
- Hone often, sharpen periodically: Hone weekly; sharpen every 2–8 weeks depending on use.
- Hand wash only: Mild soap, warm water, immediate dry.
- Right boards: Wood or quality plastic. Avoid glass/stone.
- Safe storage: Magnetic strip, block, or sheaths.
- No force: Let the edge work; don’t twist or pry.
Looking for care gear? See our honing & sharpening tools and storage solutions.
Conclusion
Choosing the right knife for the task boosts speed, safety, and results. Build a foundation with a chef’s knife, paring knife, and bread knife; then expand into task-specific blades like santoku, nakiri, boning, cleaver, and carving as your cooking evolves.
FAQ
1. What are the most essential kitchen knives I should have?
Start with a chef’s knife, a paring knife, and a bread knife. They cover 90% of daily prep efficiently.
2. How do I know which knife to use?
Match blade to job: general prep (chef’s), precision (paring), crusty or delicate exteriors (bread knife), veg push-cuts (santoku/nakiri), bones (boning/cleaver), service slicing (carving).
3. Can I use my chef’s knife for everything?
It’s versatile but not ideal for bones, frozen foods, or crusty bread. Specialized knives improve safety and finish.
4. How often should I sharpen my kitchen knives?
Hone frequently and sharpen based on feel and performance—usually every few weeks for active home cooks.
5. Is it safe to wash my knives in the dishwasher?
No. Hand wash and dry immediately to protect the edge and handle.
Citations
This guide is based on industry-standard culinary practices and Ignited Cutlery’s internal product testing and usage notes.